more than a year ago, i had posted on what i had wanted my guest bathroom to look like once i got around to doing it. well, "getting around" is finally here and the final touch was completed this past weekend!
here is another look at the before:

and here are the before and after shots:


| vanity details |
| paint, mirror and lighting fixture |

to begin with i wanted a new paint color in the bathroom since it had a yellowish hue, so i repainted the bathroom a light powder blue gray as well as changing the molding and door to a plain white.
i removed the old "builders" mirror and light fixture and installed the mirror and the light fixture. one awesome thing about the mirror is that it has a gold/silver reflection which is great since i have both metals in the bathroom :)
gold/silver mirror | $39 | garden ridge
bathroom lighting fixture | $59 | home depot
| towel hook, towel, and decor |

i had had my eyes on this gold owl towel hook so when i went to go pick it up, my hubby actually picked out the ceramic container piece and while it doesn't really serve any functionality, it went really well with the decor! (plus that was totally awesome that he picked it out!). the artifical flower and vase is from hobby lobby (remember to only buy their flowers when they have 50% off...which is almost twice a month!)
gold owl hook | $22 | anthropologie
artificial orchid and vase | hobby lobby
dalian canister | $24 | anthropologie
| vanity cabinets |


the vanity cabinets were originally an off-white, but i thought that it washed out the bathroom too much so i wanted to create some contrast, so with the help of my mom we painted the cabinets a mid-toned gray and added new hardware. (note: josh picked out the door knobs too!)
door knobs | $10/knob | athropologie
rug | $20 | homegoods
| towels and hooks |

i loved the look of hooks for towels (just like the owl hook) and i couldn't pass up turquoise anything (its my favorite color). since i had picked out almost everything in the bathroom, i let josh pick out the towels, and they are the same design as the hand towel from the vanity.
turquoise and gold towel hooks | $24/hook | anthropologie
white chevron bath towel | $14.99 | world market
white chevron hand towel | $9.99 | world market
| toilet details |

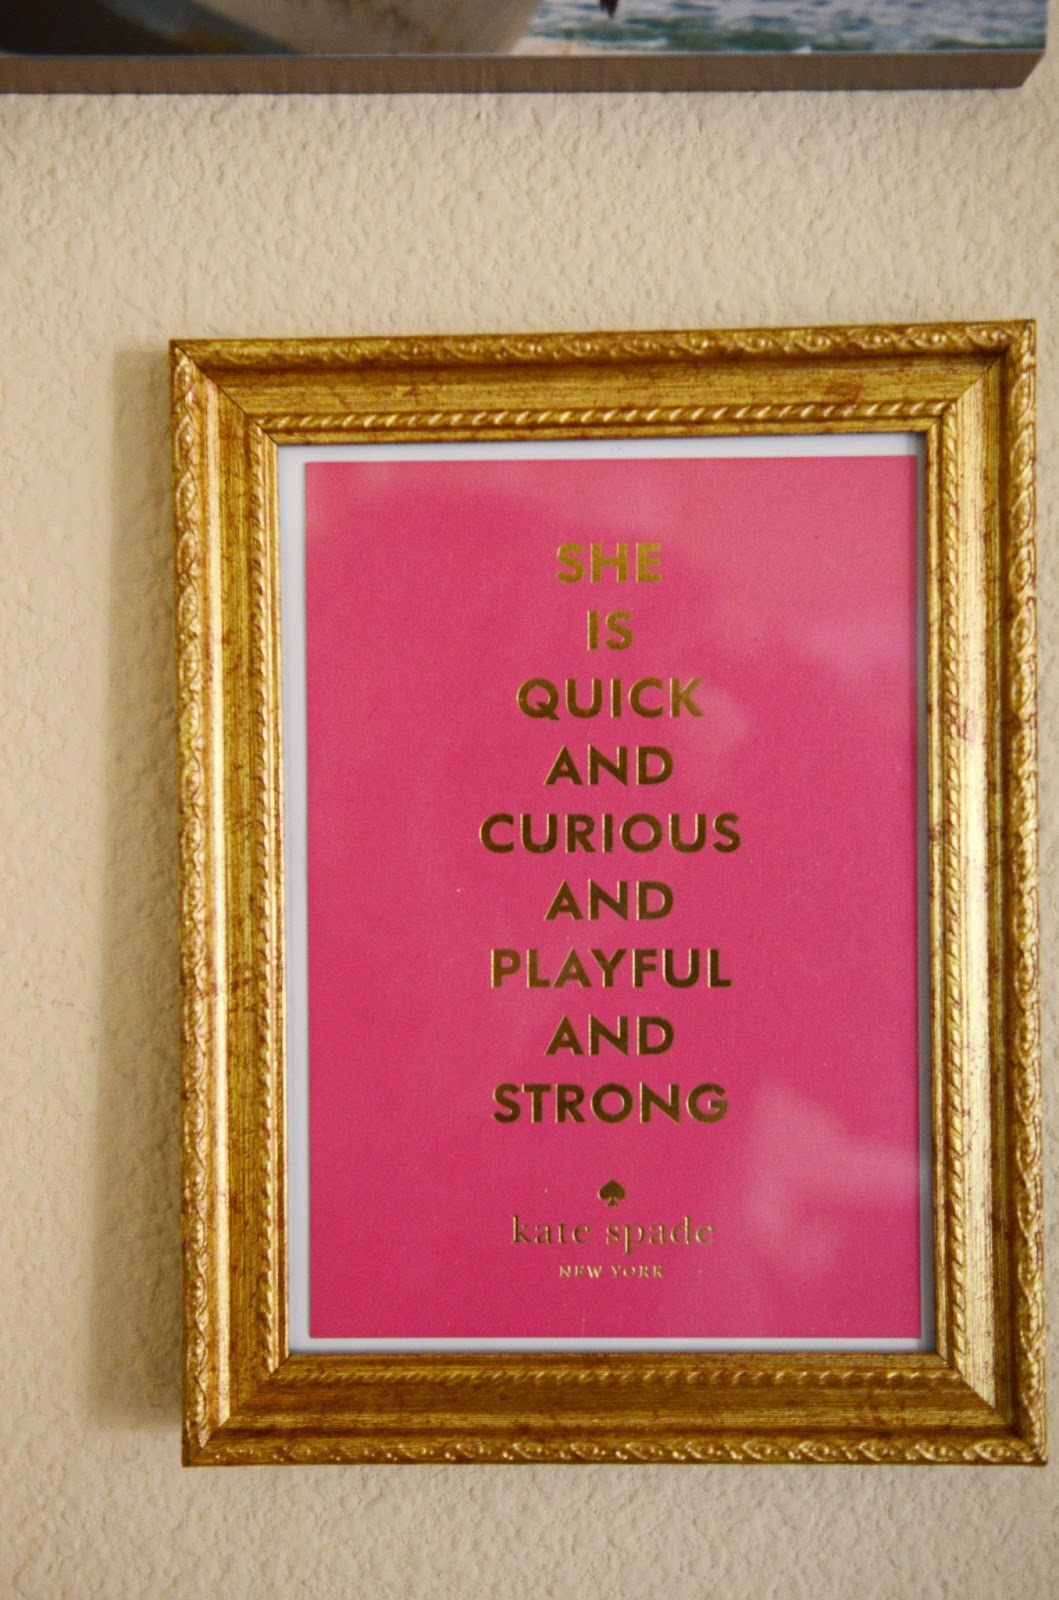
| photo wall |

so recently, i have become obsessed with anna rifle bond art and since the living room was starting to become a little too girly, i decided i would put some of her art in the bathroom. i was originally going to repaint them, but her art is so beautiful, i decided i wanted the real thing. plus, when i saw these frames at target as part of their new "threshold" line, i knew it would go perfect with the prints.
floral prints | $18/set of 8 | rifle paper company
4x6 matted wooden picture frame | $13.59/frame | target
| shelf and decor |

so after i put up the frame, i thought it looked a little empty, so i decided to add a shelf with a few decor items. the shelf was something i had had before and just painted it white. the jar is also part of the target threshold collection and the shells are from our honeymoon that we picked up on the beach in cabo. the vase i found at a thrift store and painted old and the blue ceramic piece is also from mexico when we were on out honeymoon.
aqua glass jar | $3.99 | target
| light plates |

these were just left over from our old house and thought i would put them to good use :)
silver light plate | lowes
| floors |

so after everything was almost done, i realized that none of it was going to look as good as it should, unless i did something to brighten up the floors. so after perusing pinterest, i saw a how-to on updating the grout. it only took me about 2 hours since i had to do two coats, but it was totally worth it because when my husband got home, he thought i had replaced the floor!
polyblend grout renew | $11.97 | home depot